
On this page
Tall furniture can tip. A loaded dresser with the drawers pulled open, or a bookcase that a child climbs, can come forward much more easily than most people expect. The fix is cheap and takes under an hour: fasten the furniture to the wall so it cannot fall forward.
This guide shows how to anchor a dresser, bookcase or tall cabinet to a standard drywall wall. Read the safety section first, then follow the steps in order. If your wall is plaster, brick or tile, or the furniture is very heavy, see the section near the end on when to ask for help.
Safety first
- Empty the furniture first. Take everything out of the drawers and off the shelves. A lighter piece is easier to move and much less dangerous if it shifts.
- Work with a helper. One person steadies the furniture while the other marks and drills. Never lean a tall piece against your shoulder and drill at the same time.
- Check for wires and pipes. Before drilling, use a stud finder with a live-wire detection mode, and look at where outlets and switches are. Wiring commonly runs vertically from outlets and switches, so be careful drilling directly above or below them. Avoid walls that have plumbing behind them.
- Wear safety glasses. Drilling at chest or eye level sends dust and debris toward your face.
Which furniture needs anchoring?
Anchor anything taller than it is deep, or anything that gets heavy when loaded: dressers, bookcases, tall narrow cabinets, wardrobes and media units that hold a heavy TV. Flat-pack pieces from IKEA and similar brands often include an anti-tip fitting in the hardware bag. Do not throw it away, but check that its screws suit your wall.
What you need
- Anti-tip hardware: a strap kit, a furniture-to-wall bracket or an L-bracket (see the next section)
- Screws suitable for wall studs, and a separate set of heavy-duty drywall anchors if there is no stud (more on that below)
- A stud finder
- A drill/driver and bits, including a bit slightly smaller than your screws for pilot holes
- A pencil, masking tape and a tape measure
- A level
- A screwdriver
- A helper
Choosing the right hardware
There are a few common types, and each suits a different piece of furniture.
Straps. One end attaches to the furniture and the other to the wall. They are inexpensive, easy to fit and work well for dressers and bookcases that sit close to the wall. Choose straps with a metal or reinforced fitting rather than a thin plastic clip.
L-brackets. A small metal bracket screws to the top of the furniture on one side and to the wall on the other. They are rigid and good for solid wood pieces and tall bookcases.
Cable or chain kits. Similar to straps, with a metal cable, suited to heavier pieces.
Whatever you choose, check the weight rating on the package and compare it to the weight of the loaded furniture. If you are not sure, go for the stronger option.
Step-by-step: anchoring furniture to a drywall wall
Step 1: Position the furniture where it will stay
Slide the piece to its final spot. If it will sit against a baseboard, check whether the furniture has a gap at the back that lets it sit flush with the wall. Some pieces are designed to leave a small space behind them, and straps may need slightly more length.
Step 2: Find the studs
Run the stud finder across the wall behind the furniture and mark the edges of each stud with pencil or tape. Studs in a typical home wall are commonly spaced 16 inches apart, measured from center to center, but this varies, especially in older houses. Confirm what you find instead of assuming.
To double-check, mark both edges of a stud, find the middle, and measure to the next one. The spacing should be consistent. You can also tap the wall: a hollow sound means an empty cavity and a duller sound suggests a stud.
Try to anchor into at least one stud, and into two if the furniture is wide or heavy.
Step 3: Mark the anchor point on the furniture
Anti-tip fittings go near the top of the furniture, on the back or on the upper inside edge, where they give the most leverage against tipping. Hold the bracket or strap fitting against the furniture frame and mark where the screw will go. The screw should go into a solid part of the frame, such as the top rail, a vertical side panel or a thick back rail, not into a thin back panel by itself.
For a dresser with a thin fiberboard back, look for the frame edges or the top panel. If the only option is the thin back panel, use the washer or backing plate that came with the kit, or choose a different type of fitting.
Step 4: Mark the wall position
Hold the furniture in its final position. Using the stud marks, work out where the matching wall fitting needs to be so that it lands on the center of a stud. Mark that spot on the wall at the same height as the furniture mark. Use a level to make sure the strap or bracket will not be crooked.
If the stud does not line up, shift the furniture a few inches sideways or use a longer strap that reaches the stud.
Step 5: Drill pilot holes
Choose a bit slightly smaller than the screw. Drill a pilot hole into the stud at your wall mark, deep enough for the screw to bite well into the wood. A pilot hole keeps the wood from splitting and helps the screw go in straight. If you are also fixing a bracket to the furniture, drill a small pilot hole there as well.
If the bit goes through with no resistance, you have probably missed the stud. Stop and check again with the stud finder before drilling more holes.
Step 6: Fix the wall fitting
Drive the screw through the strap, bracket or wall plate and into the stud. Tighten until it is snug and flat against the wall. Do not over-tighten, since that can crush the drywall or strip the wood. Check that the fitting is level, then pull on it firmly. It should not move.
Step 7: Fix the furniture fitting
Attach the other end of the strap or bracket to the furniture frame with the screws provided. Take care not to use screws so long that they poke through the front or side of the furniture. If needed, test the screw length against the thickness of the panel before you drive it in.
Step 8: Connect, tension and test
Slide the furniture back into position and connect the strap or bracket. Pull the strap taut so there is little slack, because a loose strap lets the furniture start to tip before it catches. With the furniture still empty, gently pull the top forward with one hand. It should stop almost at once. Then load it, heavier items low, and test again.
What if there is no stud where you need it?
Move the anchor point. Shifting the furniture a few inches or using a longer strap to reach the nearest stud is almost always better than any anchor.
Use a heavy-duty anchor only if the manufacturer allows it. If there is no stud anywhere close, use a wall anchor designed for heavy loads and rated for the weight of your furniture and wall type. Light plastic anchors that come in some kits are not meant for this. When in doubt, choose a different fitting, or ask for help.
Do not rely on drywall alone. Plain drywall crumbles under pull-out force, which is exactly the force an anti-tip strap has to resist.
Special cases
- Plaster and lath walls, common in older Pittsburgh homes, can crack when drilled. Use a slow speed and a small pilot hole, or ask for help.
- Brick, tile or concrete walls need masonry bits and anchors made for that material, and metal studs need fasteners designed for metal framing.
- Rentals often have rules about wall damage. Check with your landlord; the small holes can be patched when you move out.
Common mistakes
- Fastening only into the drywall. The wall fitting should reach a stud.
- Using a thin plastic clip for a heavy piece. Match the hardware to the weight.
- Leaving slack in the strap. Tighten it so there is almost no movement.
- Screwing into a thin back panel only. Find a solid part of the frame.
When to call a pro
A single dresser or bookcase on a plain drywall wall is a manageable job for most people. It is worth getting help if:
- The wall is plaster, brick, tile or metal-stud framing
- The furniture is very large, heavy or built in sections
- You are not sure what is behind the wall
- You simply do not want to risk drilling into the wall yourself
Fixium Craft handles furniture assembly in Pittsburgh for apartments and houses, including IKEA and other flat-pack pieces, and can anchor the finished piece to the wall as part of the job. Furniture assembly starts from $59, and we can quote from a photo of your furniture and the wall.
If you are building a new piece and want the assembly and anchoring done in one visit, a quick message with a photo is the easiest way to check the job.
Frequently asked questions
Do I really need to anchor a dresser that feels heavy?
Weight does not guarantee stability. A dresser with several drawers pulled open can tip forward, so anchoring is a simple precaution, particularly in homes with children or pets.
Can I anchor furniture without drilling into the wall?
Anti-tip hardware needs to be fixed to the wall to work. If drilling is not allowed in your rental, ask your landlord first.
How long does it take?
For a first-timer with a helper, plan on about 45 minutes for a single piece, including finding the studs and testing.
Doing it yourself versus hiring a pro
Do it yourself
- • Your weekend, plus tools you may not own
- • Over-tightening strips particleboard
- • Tall pieces must be anchored to a stud
Hire Fixium Craft
- ✓ Flat rate from $59, quoted before we start
- ✓ Anchored, level, no leftover screws
- ✓ Packaging cleaned up and hauled out
Recent jobs by our Pittsburgh team
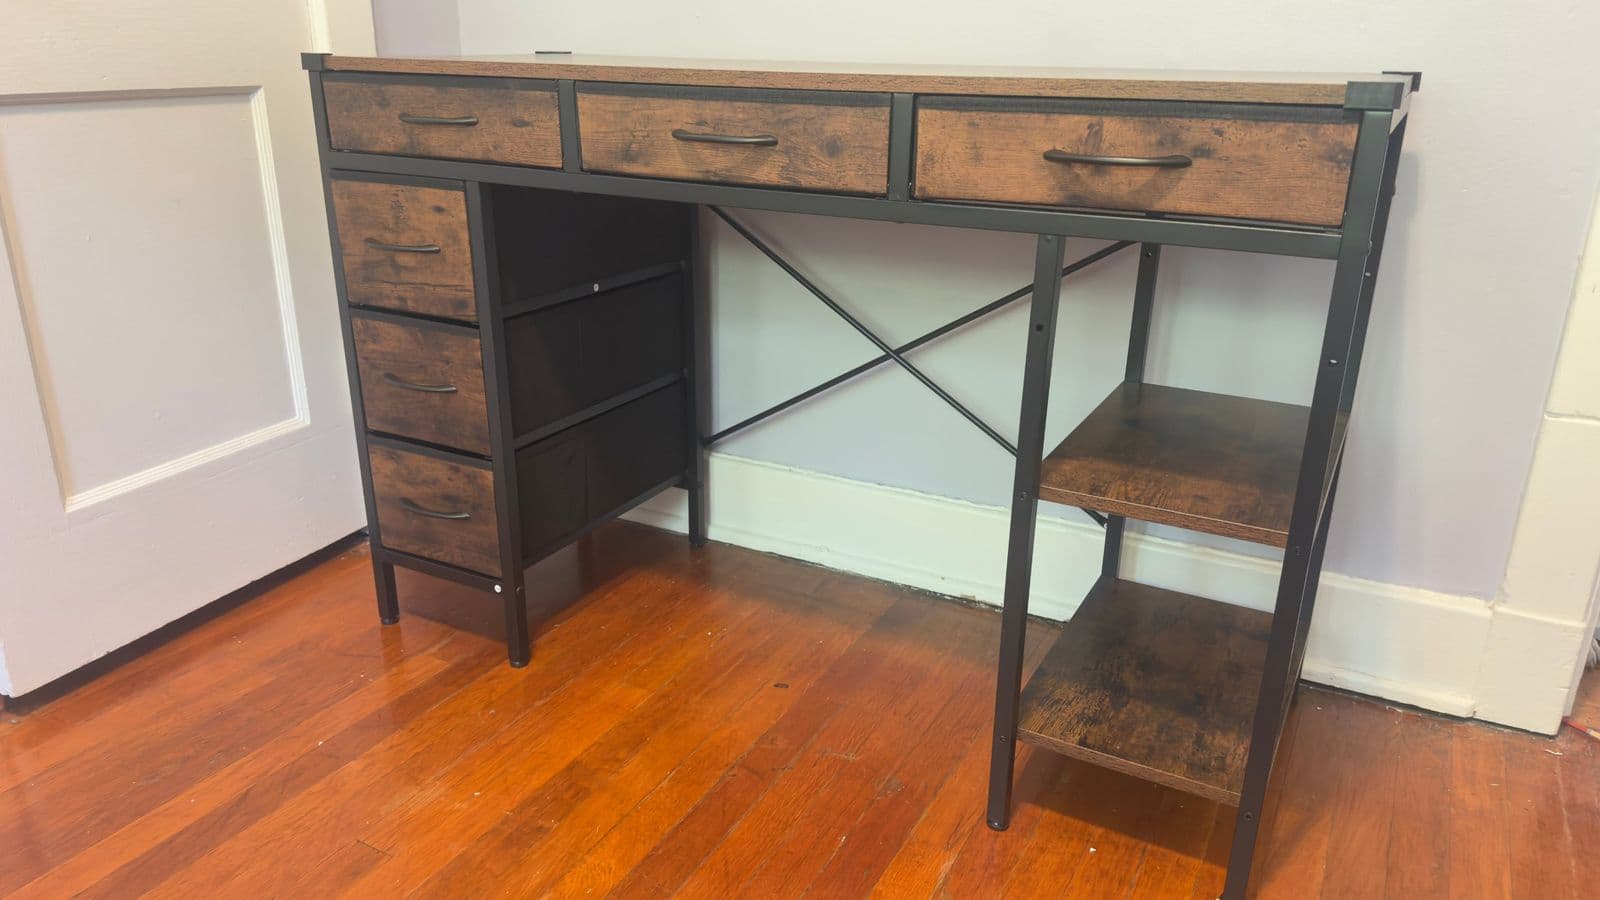
Desk with drawers & shelves assembly 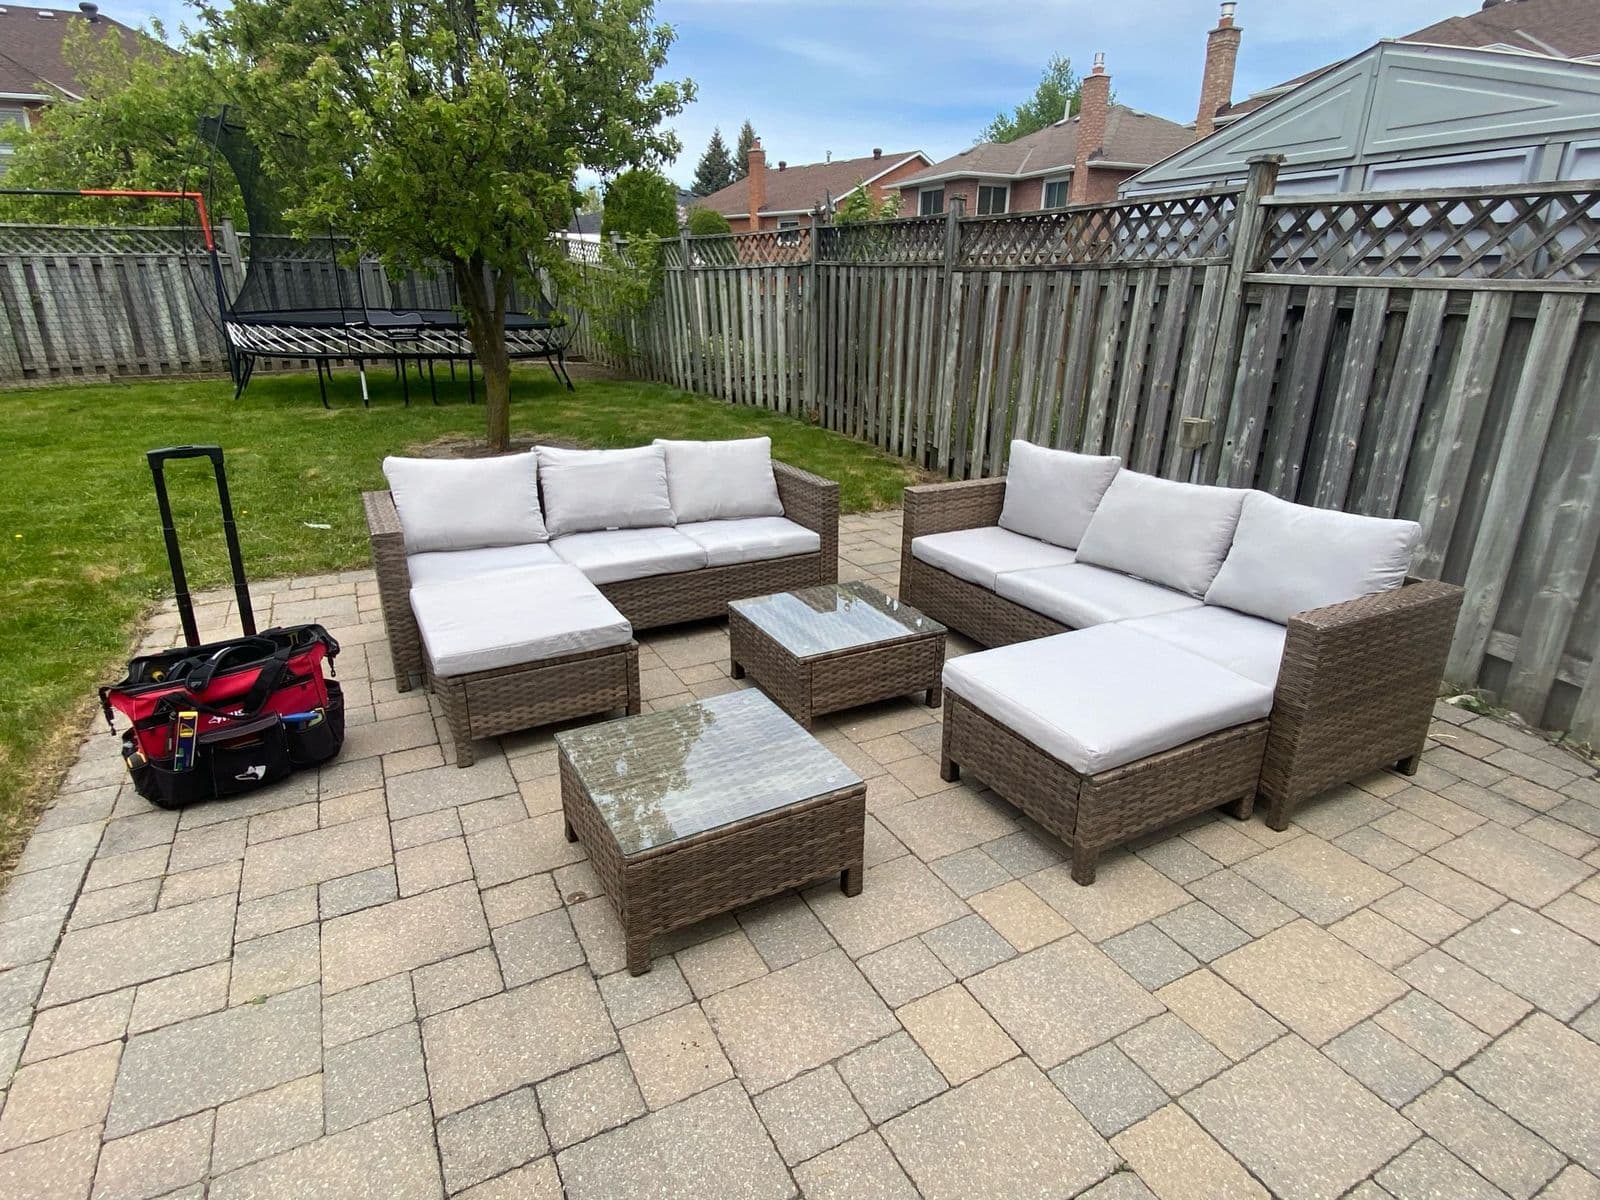
Outdoor patio set assembly 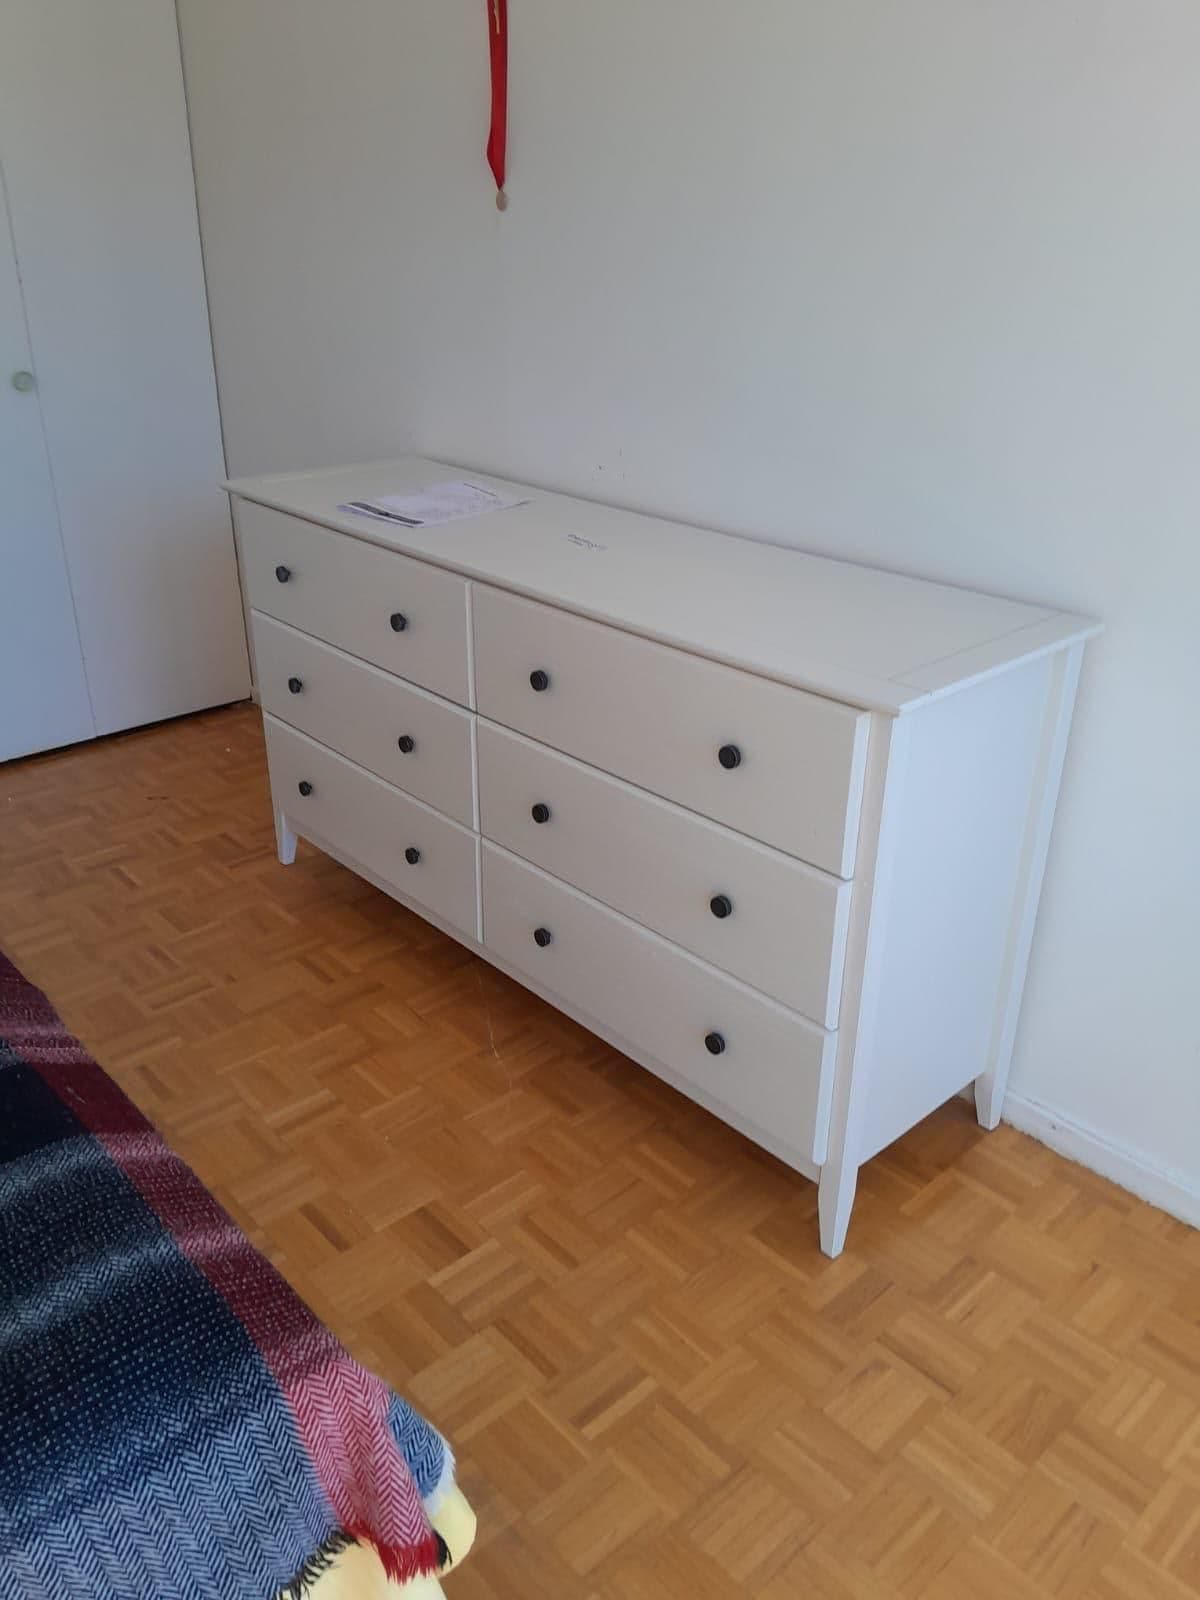
6-drawer dresser assembly
- 5.0 on Google (2 reviews)
- Fully insured
- Background-checked techs
- Flat rate quoted before we start
- Pittsburgh-based team
Want it anchored properly the first time?
Furniture assembly in Pittsburgh from $59. Tell us what you are building and we will assemble it and anchor it to the wall.
Prefer to talk it through?
Flat-rate pricing · Fully insured & background-checked · Same-day slots
Learn more about Furniture Assembly (Home & Business) in PittsburghMore Helpful Guides
IKEA PAX Wardrobe Assembly Tips: How to Build It Square, Level and Safely Anchored
A step-by-step PAX assembly guide covering planning, frame building, squaring, leveling, wall anchoring, interior fittings and door alignment, with safety notes first.
Read the guideThe Ultimate Guide to Assembling Flat-Pack Furniture (IKEA and More) Without Costly Mistakes
Manuals, hardware sorting, surface protection and tightening without stripping holes: how to assemble IKEA and flat-pack furniture properly.
Read the guide