
On this page
Flat-pack furniture is designed to be assembled by one or two people with a handful of tools, and it works well when you treat it like a small project instead of a race. Most problems we see in homes around Pittsburgh come from the same few habits: skipping the manual, losing small parts, scratching panels on the floor, and cranking screws until the particleboard strips.
This guide covers the full process, from the unboxing to the final check, using the methods we use on every assembly job.
Safety First: Read This Before You Start
- Tall furniture can tip over. Dressers, bookcases and wardrobes must be anchored to a wall stud using the anti-tip hardware supplied or recommended by the manufacturer, especially in homes with children or pets.
- Heavy panels need two people. Wardrobe sides, desktops and mattress bases are awkward and heavy. Get a helper rather than risking a dropped panel or a strained back.
- Cut cartons carefully. Slice only through the tape, with the blade shallow, so you do not scratch panels or cut yourself.
- Wear gloves when handling panels. Edges can be sharp and splinters are common.
Tools and Materials You Will Need
about 2 hoursTools
- Phillips screwdriver (hand, not power, for final tightening)
- Hex (Allen) key supplied with the furniture
- Rubber mallet
- Cordless drill with an adjustable clutch (optional, set to low)
- Tape measure
- Level
- Pencil
- Stud finder
- Utility knife (for opening cartons)
Materials
- Furniture manual and hardware bag(s)
- Muffin tin or small bowls for sorting hardware
- Moving blanket or flattened cardboard
- Wood glue (for dowels, if the manual calls for it)
- Anti-tip hardware and wall anchors (for tall furniture)
- Work gloves
Step-by-Step Instructions
Step 1: Clear a workspace and unbox with care
Pick a room with space for the finished piece plus about the same area beside it for working. Lay a moving blanket or flattened cardboard on the floor before the panels come out. Open the carton by cutting only the tape and keep the packaging nearby until you finish. It helps if you need to return a damaged part.
Step 2: Read the entire manual before touching a screw
Read from the first page to the last. Confirm the manual matches your product name and number. Mark steps that need two people, and note which side of each panel faces out. Pay close attention to arrows and orientation icons, because a panel installed backwards is the number one reason people have to take things apart.
Pro tip: Look ahead to the back panel and doors. If you know where they go, you will not build the frame in a way that blocks them.
Step 3: Inventory every part and sort the hardware
Lay out the panels and check them against the parts list. Pour the hardware into a muffin tin or small bowls and sort it by type and size, matching each to the manual's diagrams. Count everything.
If anything is missing or damaged, stop and contact the manufacturer's customer service now. Most offer free replacement parts. Do not substitute hardware from your toolbox.
Pro tip: Keep the small spare pieces that ship with many kits. They are useful when you move or a part goes missing later.
Step 4: Protect every surface
Always build on a blanket or cardboard. Place panels decorative side down when you are working on the back. Do not slide parts across the floor and do not stack panels directly on each other. Laminate and veneer chip easily, and a single scratch on a visible edge is permanent.
Step 5: Assemble in the manual's order and keep connections loose
Follow the steps exactly. Where the manual shows screws, start every one by hand and tighten only until snug. Leave all connections slightly loose until the frame is complete. A frame that is fully tightened too early will not line up with the later pieces.
Step 6: Seat dowels and cam locks correctly
Tap wooden dowels in with a rubber mallet, not a metal hammer. If the manual calls for glue, add a small drop and wipe off the excess right away.
For cam locks, make sure the arrow on the cam points toward the edge of the panel where the bolt will meet it. Turn with a screwdriver until you feel firm resistance, and stop there.
Step 7: Tighten without over-tightening
This is where most damage happens. Particleboard and MDF threads strip easily, and a stripped hole will never hold properly again.
- Use a hand screwdriver or the supplied hex key for final tightening.
- If you use a drill, set the clutch to its lowest setting and finish by hand.
- Stop when you feel firm resistance. Do not keep turning.
Pro tip: If a screw spins freely, the hole is stripped. Remove the screw, put wood glue and a few toothpicks in the hole, let it set, trim the toothpicks flush and drive the screw again.
Step 8: Square the frame before fitting the back panel
With the main frame assembled, measure the two diagonals from corner to corner. When the numbers match, the frame is square. Then attach the back panel exactly as shown. On most pieces the back panel is what keeps the frame square, so do not skip any of its nails or screws.
Step 9: Stand it up, level it and adjust doors and drawers
Move the piece to its final location and check it with a level. Adjust the feet or add shims where the floor is uneven. Hang and align doors using the adjustment screws on the hinges, and check that drawers glide evenly. Small adjustments at this stage make the difference between furniture that looks professional and furniture that looks off.
Step 10: Anchor it and do a final check
Find a wall stud, mark it, and secure tall furniture using the anti-tip kit. Go back over every connection to make sure nothing is loose. Keep the manual and any spare hardware in a labeled bag, and recycle the packaging.
Common Mistakes to Avoid
Starting without reading the manual
Many steps cannot be undone without damage. A panel installed backwards often means taking the whole piece apart.
Using a power drill at full speed
It strips particleboard in seconds. Use a low clutch setting and finish by hand.
Assembling on bare floor
Scratches, scuffs and chips are almost impossible to fix on laminate.
Skipping the anchors
A tall unit that is not anchored can tip, even if it looks stable.
When to Hire a Professional
Consider help if the piece is large (wardrobes, bunk beds, modular kitchens), if you have a lot of items to build, if you are short on time, or if the furniture needs to be anchored into drywall, plaster or masonry. A professional brings the tools and experience to finish quickly and to avoid damage. Our furniture assembly service in Pittsburgh builds IKEA and other flat-pack pieces from $59, flat-rate.
Frequently Asked Questions
How long does it take to assemble flat-pack furniture?
It depends on the piece. A small side table can take 20 to 30 minutes, a bookcase or desk often takes one to two hours, and large wardrobes or bunk beds can take several hours. Reading the manual and sorting hardware first saves time overall.
Can I use a power drill to assemble IKEA furniture?
You can, but only carefully. Set the clutch to a low setting and always finish tightening by hand. Particleboard and MDF strip easily, and a stripped hole is hard to repair.
What should I do if a part is missing or damaged?
Stop assembling and contact the manufacturer's customer service. Most offer replacement parts at no charge. Do not substitute hardware from other kits, since sizes and threads often differ.
Do I really need to anchor furniture to the wall?
Yes, for tall or top-heavy pieces like dressers, bookcases and wardrobes. Anchoring to a stud with the supplied anti-tip hardware is an important safety step, especially in homes with children or pets.
Can flat-pack furniture be taken apart and moved?
Yes, but it does not always reassemble as tightly. Cam locks, dowels and screw holes in particleboard wear each time. Take photos before disassembly, keep all hardware labeled, and add wood glue to stripped holes when reassembling.
How much does professional furniture assembly cost in Pittsburgh?
Fixium Craft furniture assembly starts at a flat rate of $59, with the price confirmed before we begin. Call (929) 780-3017 or request an instant quote on our website.
Doing it yourself versus hiring a pro
Do it yourself
- • Your weekend, plus tools you may not own
- • Over-tightening strips particleboard
- • Tall pieces must be anchored to a stud
Hire Fixium Craft
- ✓ Flat rate from $59, quoted before we start
- ✓ Anchored, level, no leftover screws
- ✓ Packaging cleaned up and hauled out
Recent jobs by our Pittsburgh team
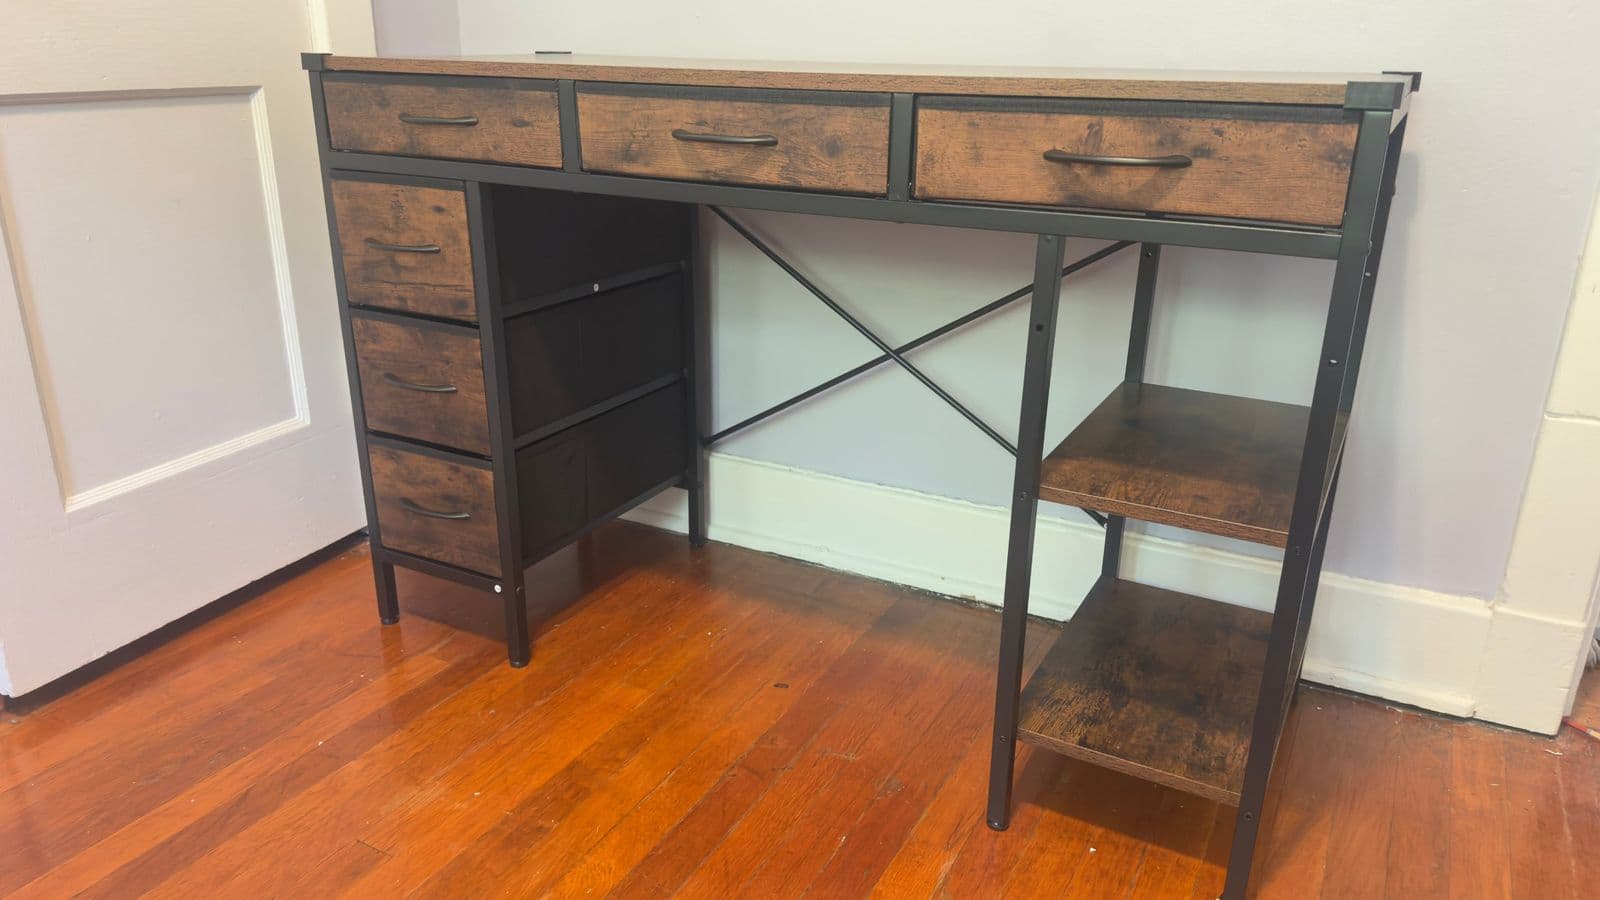
Desk with drawers & shelves assembly 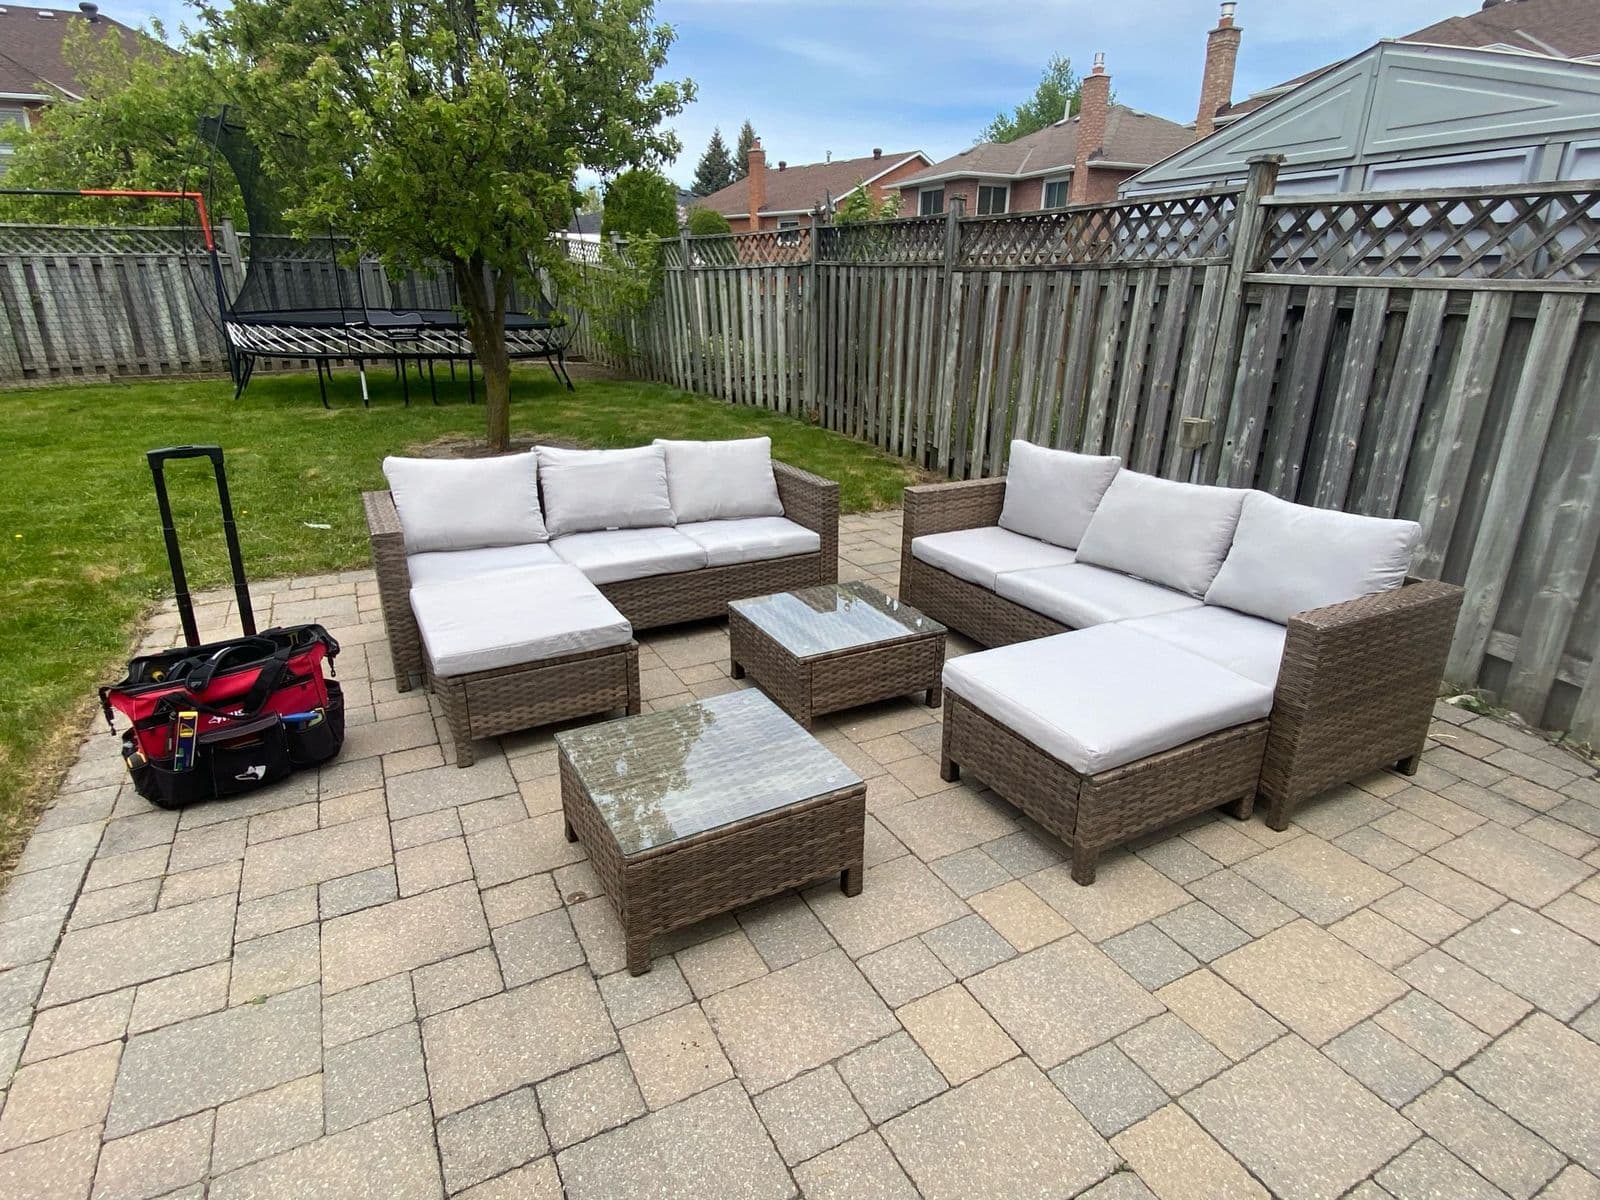
Outdoor patio set assembly 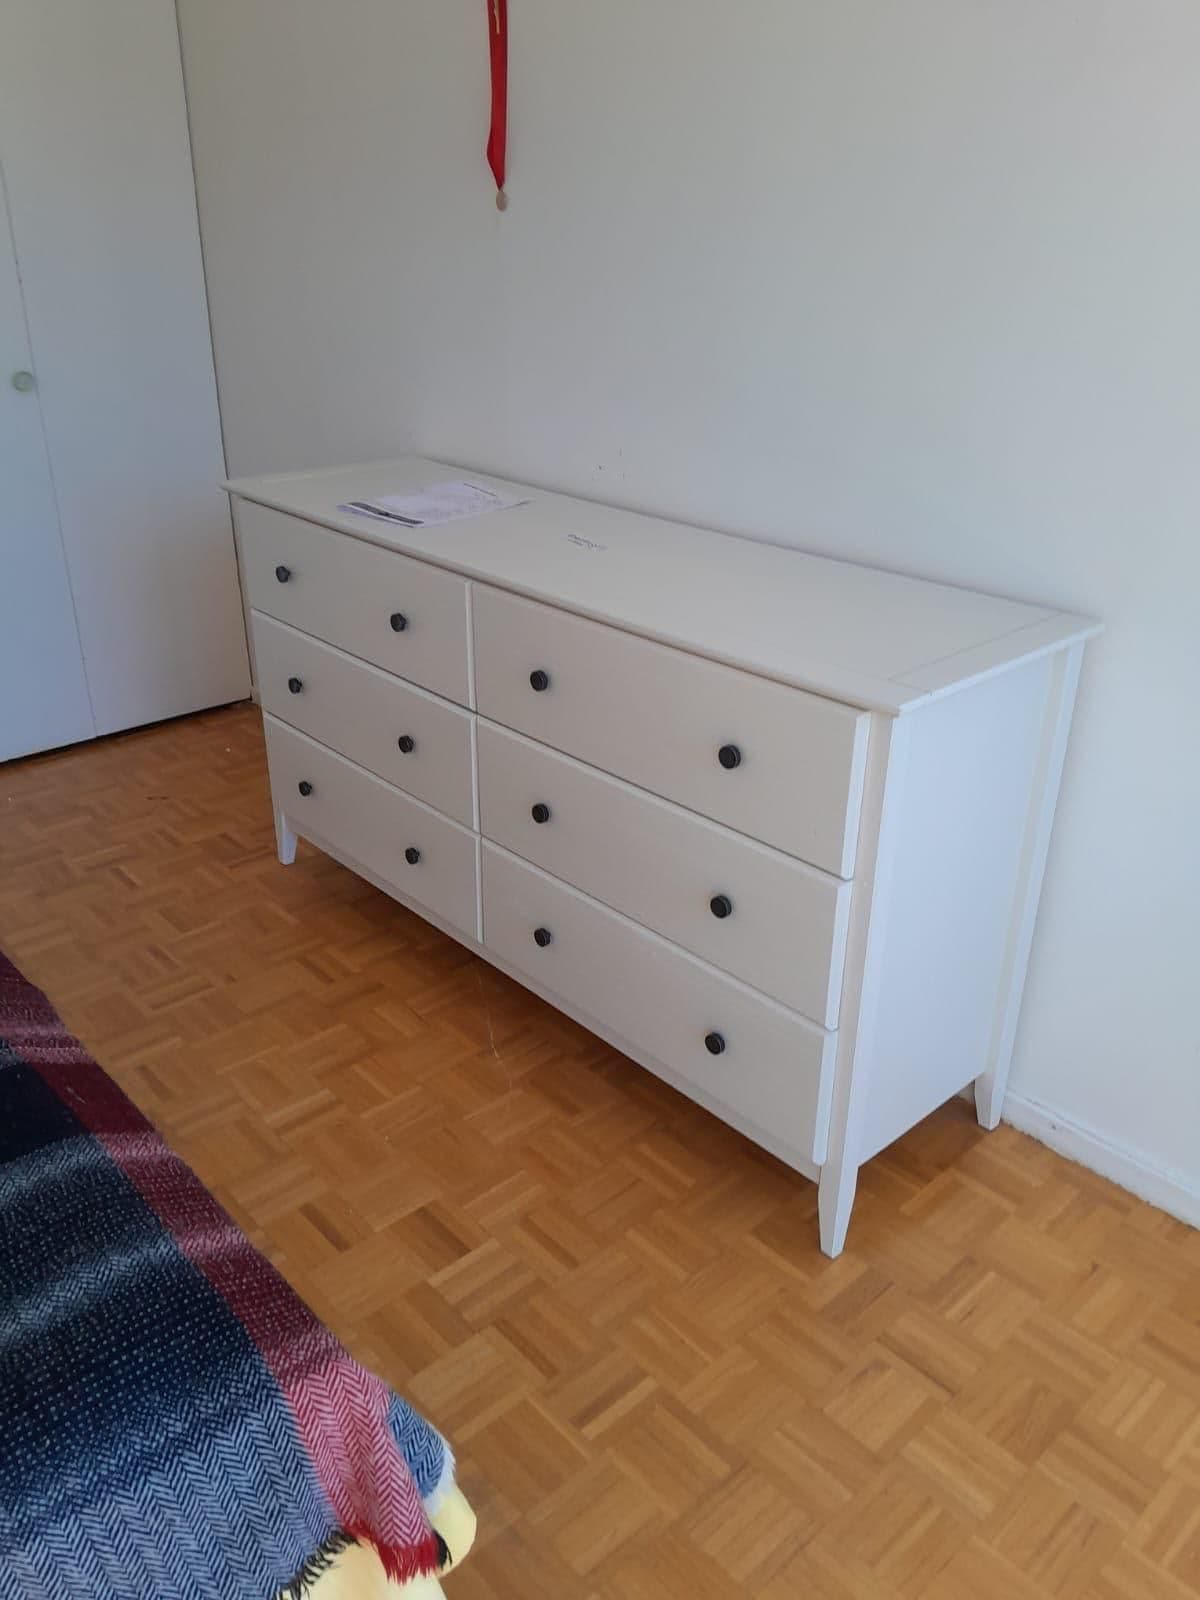
6-drawer dresser assembly
- 5.0 on Google (2 reviews)
- Fully insured
- Background-checked techs
- Flat rate quoted before we start
- Pittsburgh-based team
Skip the Frustration: Let Fixium Craft Assemble It for You
You now have the full process. If you would rather spend your weekend on something else, our fully insured Pittsburgh technicians assemble IKEA and other flat-pack furniture quickly, precisely and with every piece anchored where needed. Flat-rate pricing, no surprises.
Prefer to talk it through?
Flat-rate pricing · Fully insured & background-checked · Same-day slots
Learn more about Furniture Assembly (Home & Business) in PittsburghMore Helpful Guides
How to Anchor a Dresser or Bookcase to a Wall (Anti-Tip Guide)
A step-by-step guide to anchoring a dresser, bookcase or tall cabinet to the wall: safety first, finding studs, choosing hardware, installing the anchor and testing it.
Read the guideIKEA PAX Wardrobe Assembly Tips: How to Build It Square, Level and Safely Anchored
A step-by-step PAX assembly guide covering planning, frame building, squaring, leveling, wall anchoring, interior fittings and door alignment, with safety notes first.
Read the guide