
On this page
An IKEA PAX wardrobe looks simple in the showroom. In your bedroom it is a different story: dozens of boxes, tall panels that are awkward to handle, a thin back panel that has to be fitted perfectly, and doors that show every small mistake. The good news is that PAX is a very consistent system. If you build it in the right order and take your time at a few critical points, the result looks like a built-in.
This guide walks through the whole job, from planning the layout to adjusting the doors. Read the safety section first, even if you have built IKEA furniture before. A PAX frame is tall and heavy once assembled, and it must be fixed to the wall.
Safety first
- Two people for lifting. Tall frames and mirror or glass doors should never be handled alone. Ask a friend to help when you stand the frame up and when you hang doors.
- Anchor it to the wall. Every tall wardrobe can tip, especially with the doors open and drawers pulled out. The wall fixing in the box is not optional. Plan for it before you build, not after.
- Check what is behind the wall. Before drilling, make sure you are not drilling into electrical wiring or pipes. A stud finder with a live-wire detection mode helps, and so does checking where outlets and switches run.
- Protect your eyes and hands. Wear safety glasses when drilling and gloves when handling large panels with sharp edges.
- Mirror doors are heavy. If a mirror is damaged, do not hang it. Contact IKEA for a replacement.
Before you start: plan the layout
Most PAX problems start before the first screw. Spend 20 minutes on planning and you will save hours later.
Measure the room, not just the wardrobe. Check the ceiling height and compare it with the height of your frame. A tall frame that is built lying flat has to be tilted upright, and that needs more clearance than the finished height. If your ceiling is close to the frame height, check IKEA's assembly instructions for the correct approach, and consider building the frame in place or choosing the shorter version.
Check baseboards and walls. Baseboards, uneven floors and walls that are not square all affect how the wardrobe sits. Decide whether you will remove the baseboard behind the wardrobe or leave a small gap. Check the floor with a level in two or three spots where the wardrobe will stand.
Confirm your box list. A PAX is made of separate parts that are sold separately: frames, interior fittings, doors, hinges and handles. Lay out every box and tick them off against your order. Missing a hinge set is much easier to fix before you start than halfway through.
Choose your build spot. Build the frame as close as possible to its final position, with a clear floor space at least as large as the frame lying down. Put down a blanket or the flattened cardboard from the boxes to protect both the panels and your floor.
Tools and materials
Step-by-step PAX assembly
Step 1: Sort and label the hardware
Open the hardware bags one at a time and sort them into a tray, matching each type against the picture in the manual. PAX instructions use similar-looking pieces that differ only slightly in length, and mixing them up is the most common source of a wobbly frame. Do not throw away any packaging until the wardrobe is finished.
Step 2: Lay out the panels
Place the side panels, top, bottom and any fixed shelves next to the build spot. Identify the front and back of each panel. The holes and edges are different, and a panel fitted the wrong way around is hard to spot until it is too late.
Step 3: Build the frame on the floor
Follow the instructions in the order given. Insert the dowels, join the sides to the top and bottom, and tighten the cam locks. A few points matter here:
- Push dowels in by hand or with light taps of the mallet. Do not hammer them hard.
- Turn cam locks until they just click and feel firm. Do not force them past that point, because over-tightening can crack the particleboard.
- Check every joint is flush before tightening the next one. Gaps at this stage will not close up later.
Step 4: Square the frame before the back panel goes on
This is the single most important step. The thin back panel holds the frame square, but only if the frame is square when you fix it.
Measure the diagonals of the frame from corner to corner. When both diagonals are equal, the frame is square. If they are not, gently push the longer diagonal's corners together until the measurements match, then fit the back panel while holding it in that position.
Start nailing or fixing the back panel at one corner, then work along each edge, checking the diagonals again as you go. Skipping this check is why so many PAX doors never line up.
Step 5: Stand the frame upright
Get your helper. Lift the frame slowly, keeping your back straight and letting the base slide into position. Do not drag it across the floor. Tilt it carefully against the wall, keeping the top away from the ceiling and any light fixtures.
Step 6: Level the frame
PAX frames have adjustable feet. Place the level on top of the frame and on the front edge, then turn the feet until the frame is level both ways. Check again with the level on each side. This takes a few minutes and has a big effect on the doors.
If the floor slopes noticeably, make small adjustments in several steps rather than one big change.
Step 7: Anchor the frame to the wall
Find at least one stud near the top of the frame using your stud finder and mark it. Attach the wall fixing as the instructions show, and drive the screw into the stud where you can. If there is no stud where you need it, use a rated wall anchor for your wall type and read the weight rating on the packaging.
Pull gently on the top of the frame after fixing. It should not move. If you build a run of several frames, fix every frame and then join them together as the instructions show.
Step 8: Fit the interior pieces
Install shelves, rails, drawers and other interior fittings after the frame is level and fixed. Doing it later makes them easier to align and avoids stressing the frame while it is being moved.
For drawers and pull-out units, check the runners are straight and fully seated before loading anything into them. If a drawer drags, the runner is almost always slightly out of line.
Step 9: Hang the doors
Hinged doors go on last. Attach the hinges to the doors, then clip or screw them to the frame. Do not tighten everything fully yet. Hang all the doors for that frame, close them, and look at the gaps.
Then adjust each hinge, which allows small changes in three directions: left to right, up and down, and in and out. Make small adjustments, one hinge at a time, and close the door after each change. The gap between neighboring doors should be even from top to bottom, and the doors should sit flush with each other.
For sliding doors, install the top and bottom rails exactly as shown and confirm they are level before the doors go in. A rail that is slightly out will make doors drift open or closed.
Step 10: Add handles and finishing touches
Mark handle positions with masking tape and a measuring tape before drilling so that they line up across doors. Fit any soft-close dampers, trim strips or cover panels last.
Common PAX mistakes to avoid
- Skipping the diagonal check. A frame that is a few millimeters out of square will make every door look wrong.
- Over-tightening cam locks. Firm is enough. More force just cracks the panel around the lock.
- Fixing the back panel before the frame is square. Once nailed, it is hard to undo.
- Hanging doors on an unlevel frame. Level first, doors second.
When it makes sense to hire a pro
Many people build a single PAX frame without trouble. A larger project is different: a run of several frames, floor-to-ceiling installs, mirror doors, sliding doors, or a wardrobe with lots of interior fittings can take most of a day, and mistakes show up clearly in a bedroom.
It is also worth calling someone if you are not confident anchoring the wardrobe into your wall type, if the floor or walls are uneven, or if you simply would rather not spend a Saturday on it.
Fixium Craft handles furniture assembly in Pittsburgh for homes and offices, including IKEA PAX wardrobes, beds, desks and more. Furniture assembly starts from $59, flat-rate, and we can quote from a photo of your boxes or planner printout.
If something still looks off after the build, small hinge and foot adjustments usually fix it. And if you would rather have it done once and done right, you can book PAX assembly through our furniture assembly service.
Frequently asked questions
How long does a PAX wardrobe take to assemble?
It depends on the size and the interior fittings. Plan for an afternoon for a single frame with doors, and longer for a run of frames or one with many drawers. A helper makes it faster and safer.
Do I really need to attach a PAX to the wall?
Yes. Tall wardrobes can tip, and the manufacturer includes a wall fixing for that reason. Always use it.
Why won't my PAX doors line up?
The most common causes are a frame that is not square, an unlevel floor or hinges that need adjusting. Check the frame with a level, then adjust the hinges one at a time.
Doing it yourself versus hiring a pro
Do it yourself
- • Your weekend, plus tools you may not own
- • Over-tightening strips particleboard
- • Tall pieces must be anchored to a stud
Hire Fixium Craft
- ✓ Flat rate from $59, quoted before we start
- ✓ Anchored, level, no leftover screws
- ✓ Packaging cleaned up and hauled out
Recent jobs by our Pittsburgh team
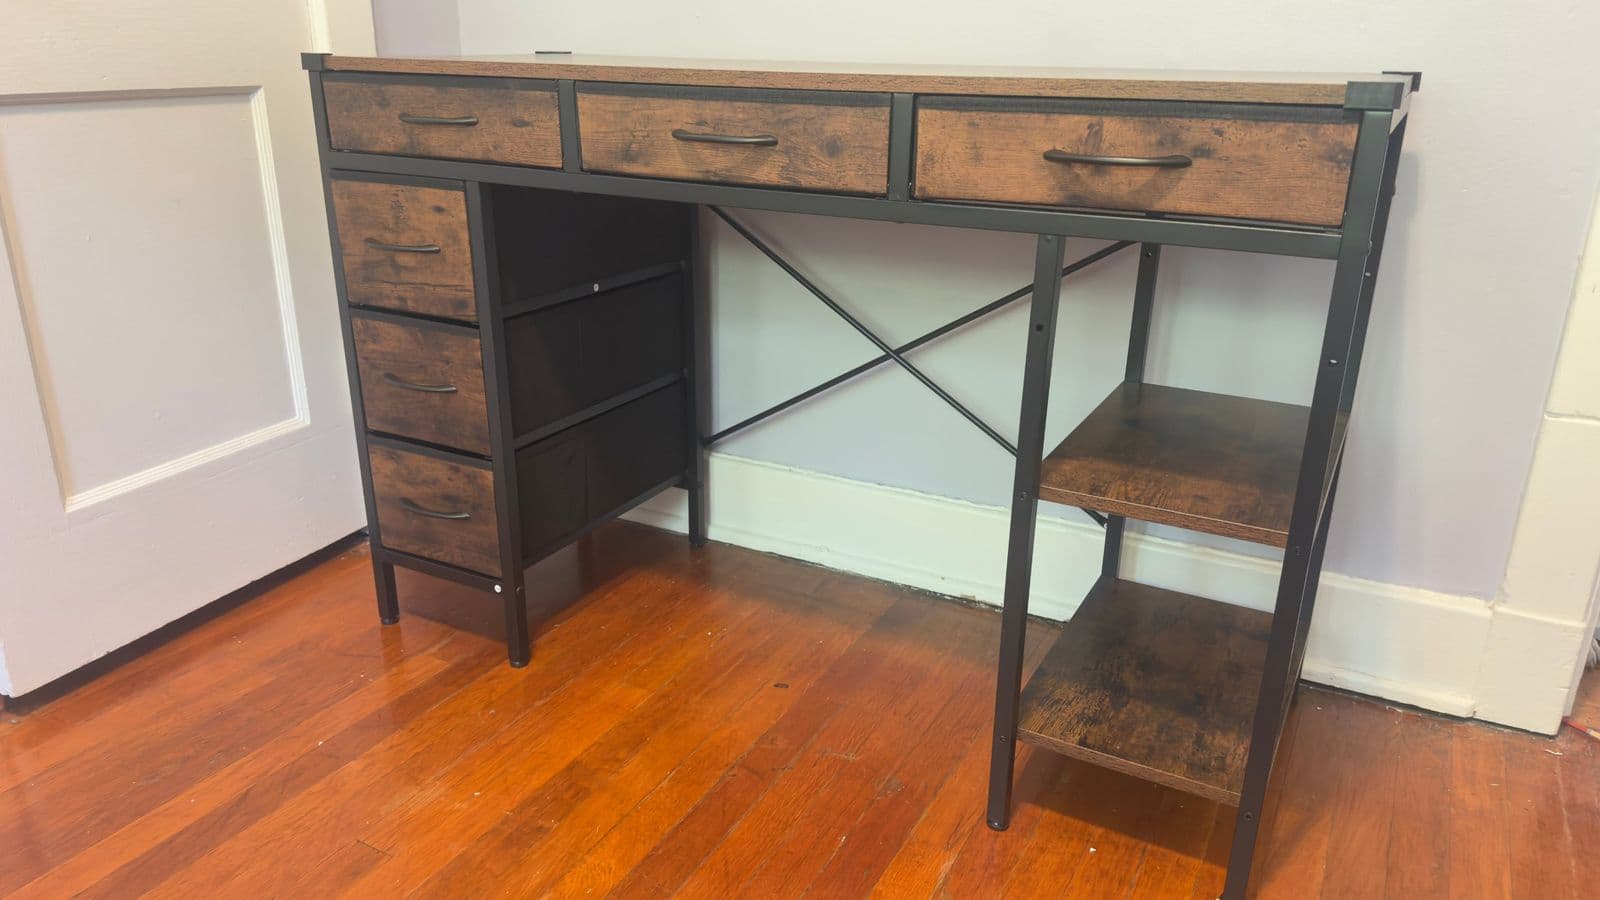
Desk with drawers & shelves assembly 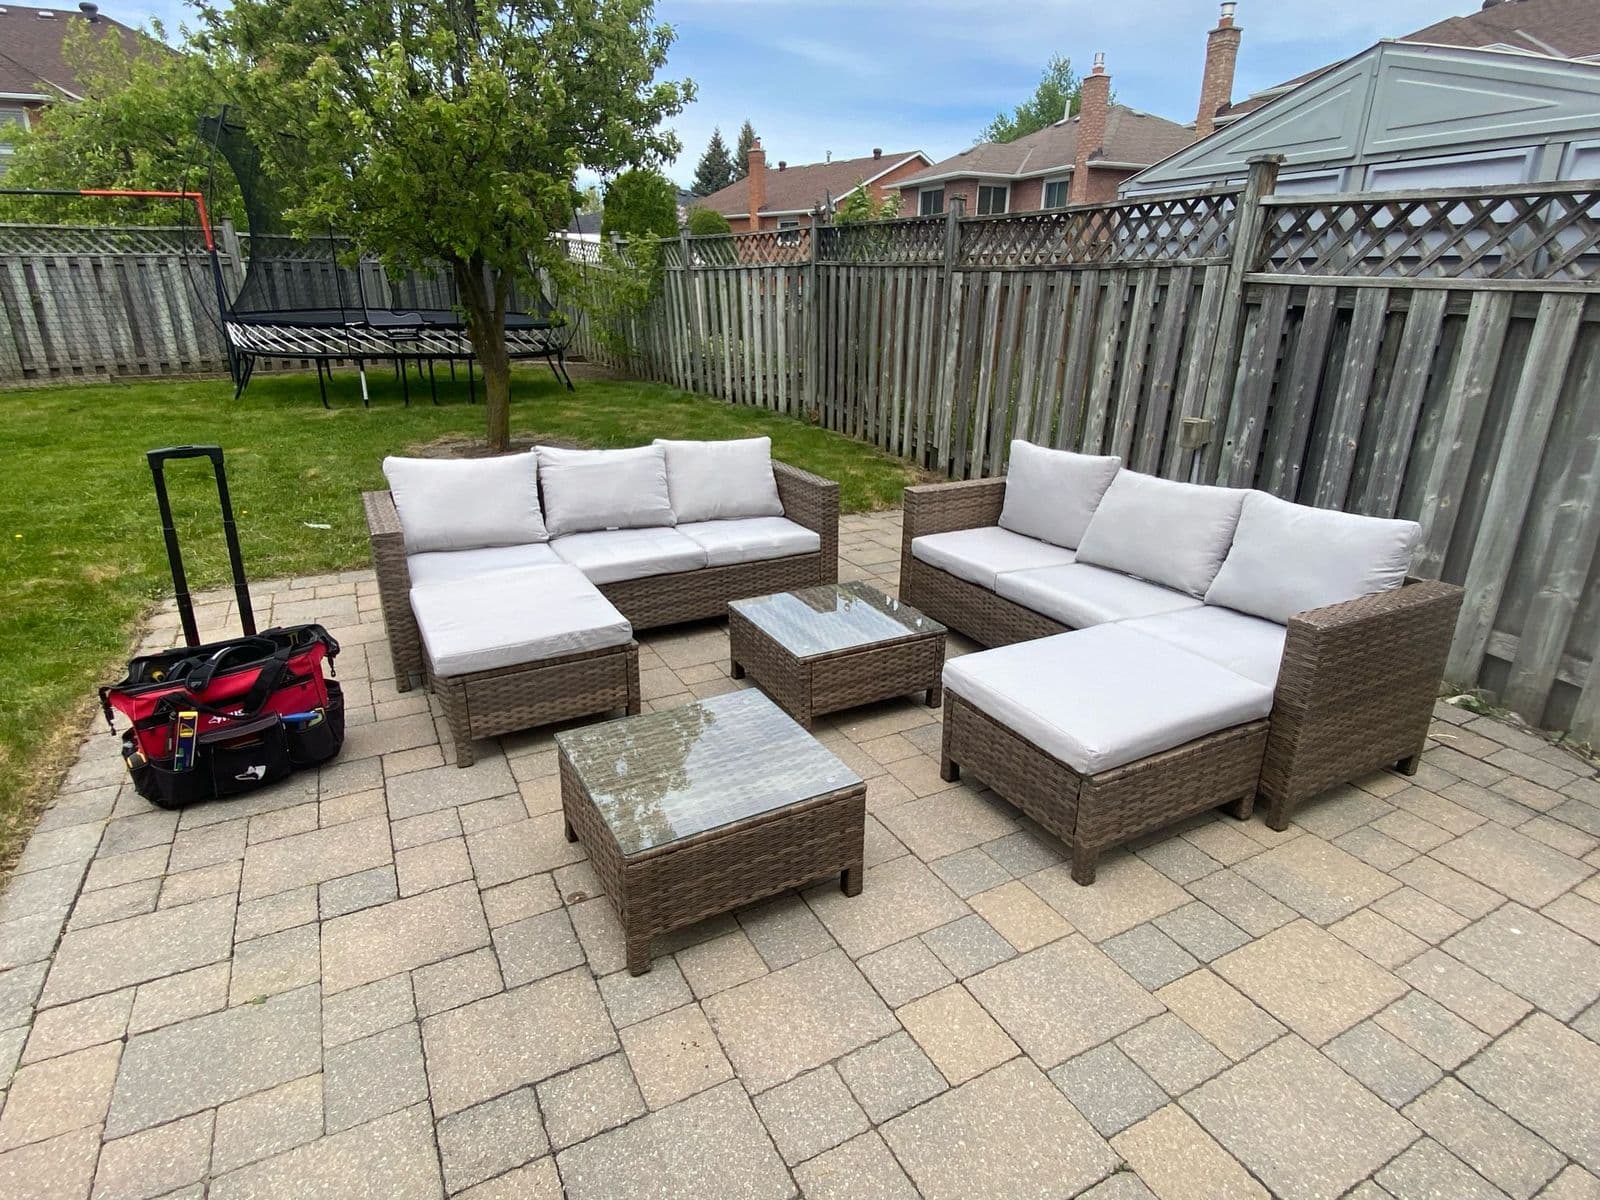
Outdoor patio set assembly 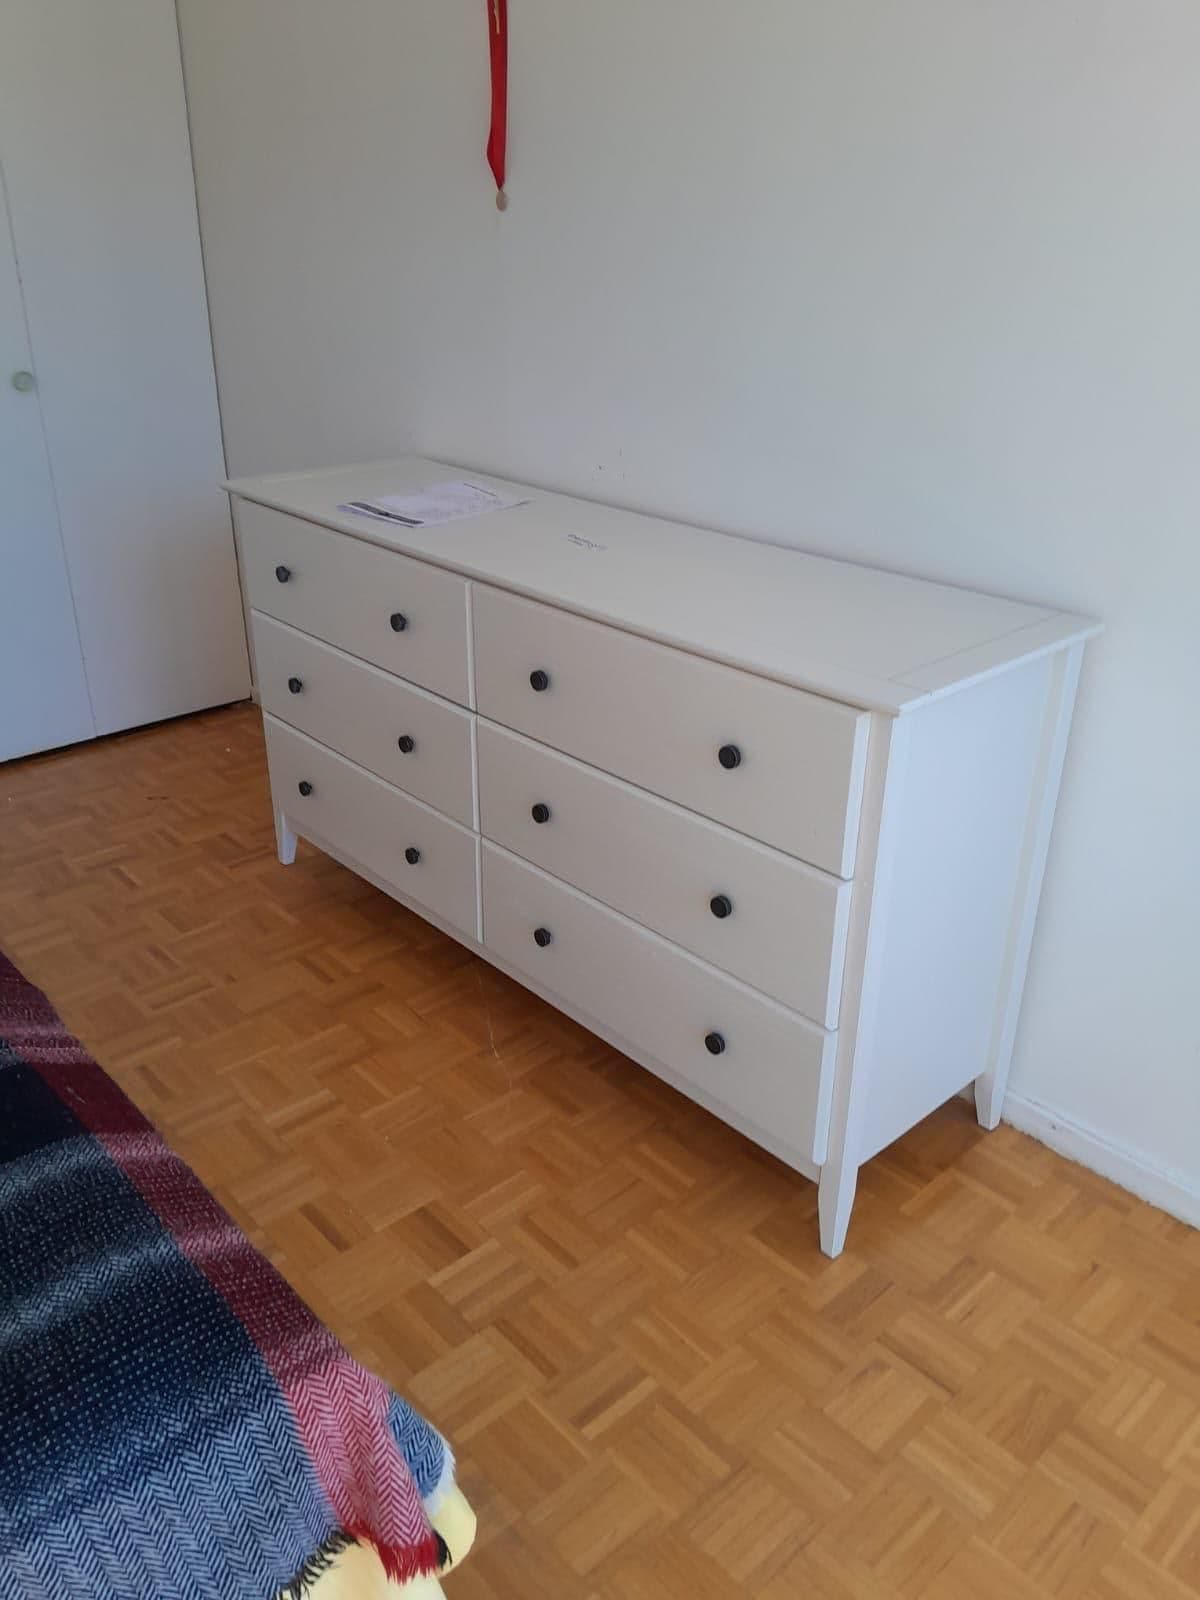
6-drawer dresser assembly
- 5.0 on Google (2 reviews)
- Fully insured
- Background-checked techs
- Flat rate quoted before we start
- Pittsburgh-based team
Rather not build the PAX yourself?
Furniture assembly in Pittsburgh from $59, flat-rate. Text us a photo of your PAX boxes and we'll quote the job.
Prefer to talk it through?
Flat-rate pricing · Fully insured & background-checked · Same-day slots
Learn more about Furniture Assembly (Home & Business) in PittsburghMore Helpful Guides
How to Anchor a Dresser or Bookcase to a Wall (Anti-Tip Guide)
A step-by-step guide to anchoring a dresser, bookcase or tall cabinet to the wall: safety first, finding studs, choosing hardware, installing the anchor and testing it.
Read the guideThe Ultimate Guide to Assembling Flat-Pack Furniture (IKEA and More) Without Costly Mistakes
Manuals, hardware sorting, surface protection and tightening without stripping holes: how to assemble IKEA and flat-pack furniture properly.
Read the guide