
On this page
A shelf that holds books, cookware or a row of plants carries more weight than it looks like it does. When a heavy shelf fails, it rarely sags politely. The screws pull out of the drywall and everything on it comes down at once. The difference between a shelf that lasts for years and one that does not is almost always the same thing: whether the fasteners reach solid wood behind the wall.
This guide covers hanging a heavy shelf on a standard drywall wall, from checking what is behind the wall to testing the finished shelf. If your wall is plaster, brick, tile or metal framing, read the section near the end before you start.
Safety first
- Look before you drill. Outlets, switches, light fixtures and thermostats show where wiring is likely to run. Cables often travel vertically from an outlet or switch, so avoid drilling directly above or below them. Be careful with walls shared with bathrooms or kitchens, where plumbing may run.
- Use a stud finder with a live-wire detection mode if you can. It is not perfect, so treat it as a second opinion, not a guarantee.
- Wear safety glasses. Drilling above chest height drops dust and chips toward your face.
- Use a stable step stool or ladder. Never stand on a chair or a box.
- Think about the load. Plan for the weight of the shelf plus everything on it before you drill, and keep the heaviest items low.
Why studs matter
Drywall is a layer of gypsum between two sheets of paper, usually about half an inch thick. It copes with light, steady weight, but it is weak against a screw being pulled straight out. Behind it, vertical wooden studs give the wall its strength. A screw driven into the middle of a stud holds far better than an anchor sitting in drywall alone.
In many homes studs are spaced 16 inches apart, measured center to center. In some walls it is 24 inches, and in older Pittsburgh houses the spacing can be irregular. That is why you confirm what you find instead of trusting a rule of thumb.
What you need
- A stud finder
- Pencil and masking tape
- Tape measure and a level (24 inches or longer if possible)
- A drill/driver and bits, including one slightly smaller than your screws for pilot holes
- Brackets, or a French cleat or rail system, rated for the load
- Screws long enough to reach well into a stud
- Heavy-duty wall anchors, only for spots without a stud and only if their rating covers the load
- Safety glasses, a step stool and, ideally, a helper
Choosing the shelf hardware
Fixed brackets. Metal L-shaped or triangular brackets under the shelf are the classic choice for books, tools and kitchen items. Choose brackets with a diagonal brace and several screw holes along the vertical arm. Short brackets under a deep shelf give less support than longer ones.
Floating shelf supports. A hidden metal bar slides into the shelf. They look clean but put a twisting force on the wall fasteners. For heavy loads, choose a solid steel bar that spans more than one stud, not a thin flat plate.
French cleat or rail systems. A cleat is a pair of interlocking strips, one on the wall and one on the back of the shelf. A long cleat screwed into several studs spreads the load well and is easy to level.
Check the load rating on the package. That rating normally assumes mounting into studs with the supplied screws, so an anchor in drywall will not reach it.
Step-by-step: finding the studs and hanging the shelf
Step 1: Decide where the shelf goes
Lightly mark the shelf's height and length on the wall in pencil. Think about clearance above it and what will sit on it.
Step 2: Scan with the stud finder
Switch on the stud finder against a clear patch of wall to calibrate it, then slide it slowly in one direction. Mark where it first signals a stud edge. Scan back from the other side and mark the second edge. The middle of the two marks is the stud center.
Scan at two different heights. A real stud is vertical, so the marks should line up. If they drift sideways, you may be reading a pipe, a brace or noise from the wall.
Step 3: Confirm what you found
Stud finders can give false readings, especially on textured walls or older plaster. Confirm in a second way before you commit.
- Measure. From one stud center, measure 16 inches each way. You will often find the next studs there. If not, try 24 inches.
- Look for clues. Outlet and switch boxes are usually fastened to the side of a stud. Baseboards are often nailed into studs, and small nail dimples can show where.
- Make a test hole. Drill a very small pilot hole where you think the stud center is, somewhere the bracket will hide it. If the bit meets firm resistance and then slides in an inch or two before reaching air, you have found the stud. If it goes in with no resistance, you have missed. Move half an inch and try again.
Step 4: Mark the stud centers
Run a strip of masking tape along the stud centers above and below the shelf position, or mark them in pencil. Aim for the center, not the edge. Screws in the middle hold best and leave you the most margin for error.
Step 5: Plan the fixing points around the studs
Lay your bracket spacing against the stud marks. Ideally every bracket sits on a stud. With studs 16 inches apart, a 48-inch shelf can use three brackets on three studs. If they do not line up, either shift the shelf left or right, or use a rail or cleat long enough to reach several studs so you can place the shelf anywhere along it. Moving the shelf a few inches is usually better than adding an anchor.
Step 6: Mark the screw holes
Hold the first bracket or cleat at the planned height with the level on top, centered over the stud mark. Mark each screw hole through the bracket. For a cleat, mark the holes that fall on stud centers. For a second bracket, draw a faint level line across the wall so both tops sit at exactly the same height.
Step 7: Drill pilot holes
Use a bit slightly smaller than the screw's core. Drill straight into each mark, deep enough for the screw to seat. Pilot holes stop the wood from splitting and help the screw go in straight. Keep the drill square to the wall, because an angled hole can pull the bracket off line.
Step 8: Fix the brackets
Hold the bracket in place and drive the screws on a low torque setting, stopping as soon as the bracket sits tight. Over-driving crushes the drywall paper and can strip the wood. Fasten the screws nearest the studs first, check level again, then add the rest. Pull on each bracket firmly. It should not move or rotate.
Step 9: Fit the shelf
Place the shelf on the brackets or hang it on the cleat. Check it is level front to back and side to side. Fix it to the brackets from underneath with the small screws provided so it cannot lift or slide off.
Step 10: Test before you load
Press down firmly on the middle, the front edge and each end. Nothing should flex, creak or shift. Load the shelf gradually, heaviest items low and close to the wall, and check it again after a day or two.
Fasteners: screws and anchors
Screws into a stud. A screw should pass through the bracket and the drywall and then go at least an inch into the stud. With half-inch drywall, that usually means a screw around two to two and a half inches long. Use the type the bracket maker recommends. Wood screws or structural screws work well, while ordinary drywall screws are generally too brittle for hanging heavy loads.
Anchors in drywall. If a bracket hole falls between studs, use a heavy-duty anchor rated for the load, as an addition to the studs rather than a replacement. Toggle-style and strong metal anchors beat small plastic plugs for anything heavy. Follow the anchor's instructions exactly and check its rating against your wall thickness.
When the wall is not standard drywall
- Plaster and lath. Common in older Pittsburgh houses. Plaster is brittle and can crack when drilled. Use a slow speed, a sharp bit and a small pilot hole, and prefer a rail or cleat that spans several studs.
- Brick, concrete or tile. You need masonry bits and anchors rated for the material. Drilling tile without the right bit can crack it.
- Metal studs. Common in newer apartments. Wood screws will not bite, so use fasteners made for metal framing, and be careful with the load.
When to call a pro
Hanging one shelf on a drywall wall is manageable with the right tools. It is worth getting help if:
- The shelf is long, very heavy or will hold something valuable
- The wall is plaster, brick, tile or metal-stud framing
- You cannot confirm where the studs are, or you suspect pipes or wiring
- You have several shelves to hang and want them perfectly aligned
Fixium Craft does handyman repairs and installations in Pittsburgh, including hanging shelves, mirrors and wall storage. Handyman help starts from $49, and a photo of the wall and the shelf is usually enough to tell you what the job involves.
Frequently asked questions
What if there is no stud where I want the shelf?
Move the shelf a few inches, or use a cleat or rail that reaches the nearest studs. Anchors are a backup, not the main plan.
Can I use only drywall anchors for a bookshelf?
For light decorative items a good anchor can be fine. For books and other heavy loads, aim for studs, because books weigh more than most people expect.
How do I find studs without a stud finder?
Knock along the wall and listen for a change from hollow to solid, look for nail dimples along the baseboard, and measure from an outlet or corner. Confirm with a small test hole in a spot the bracket will hide.
Doing it yourself versus hiring a pro
Do it yourself
- • Patch, dry, sand, prime, paint: several trips to the store
- • A visible patch if the paint doesn't match
Hire Fixium Craft
- ✓ Flat rate from $49, one visit
- ✓ Patch, prime and touch-up done together
Recent jobs by our Pittsburgh team
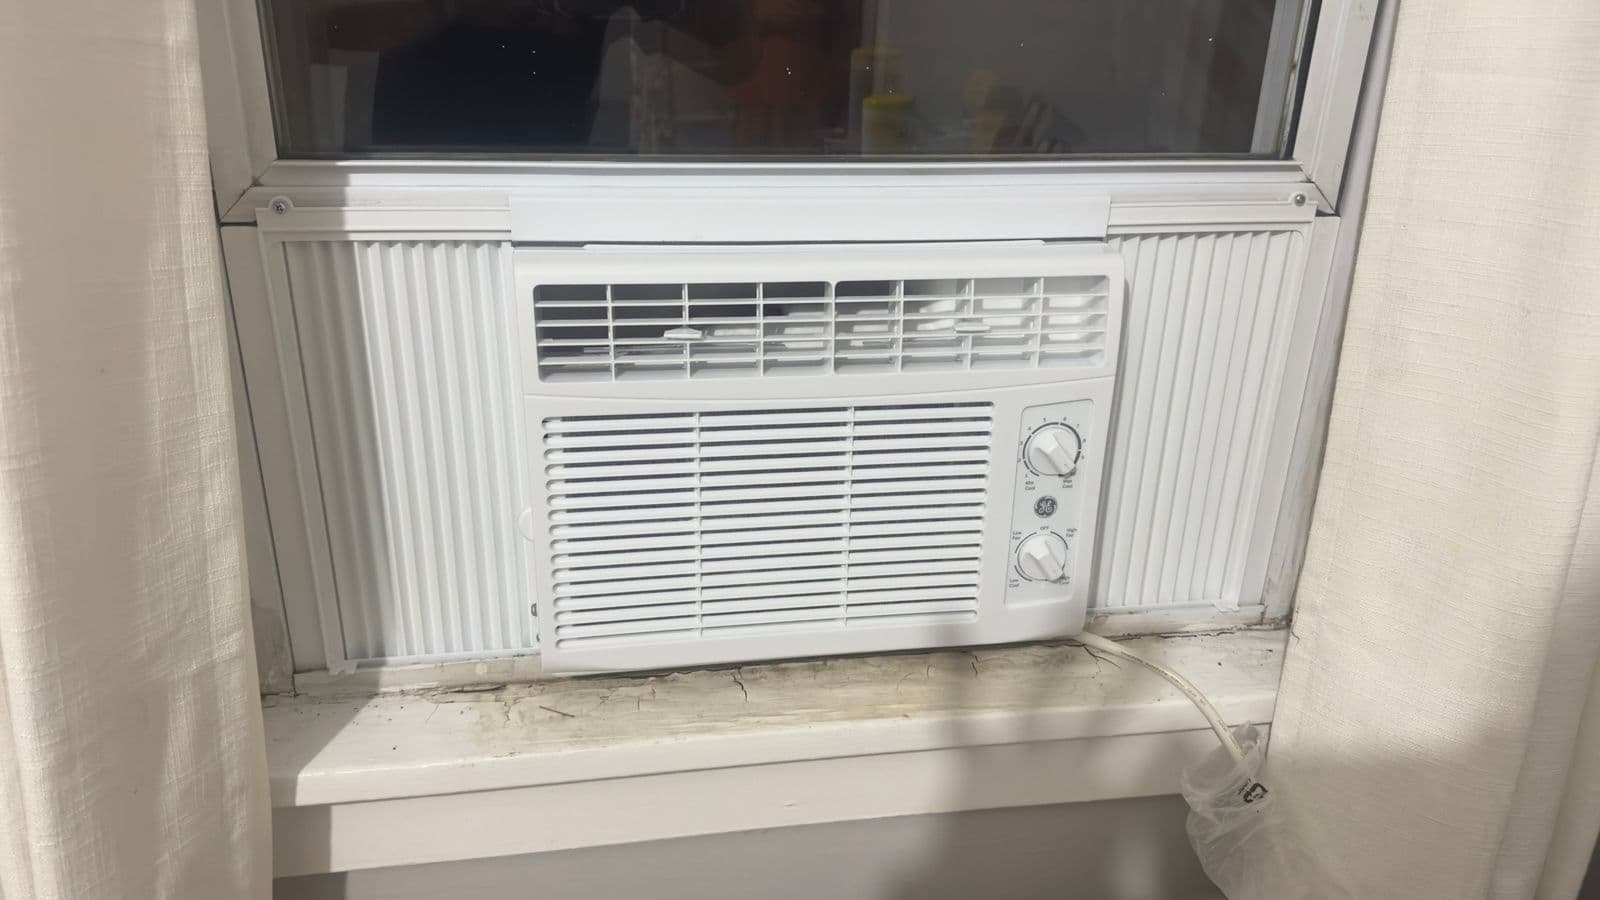
Window AC installation 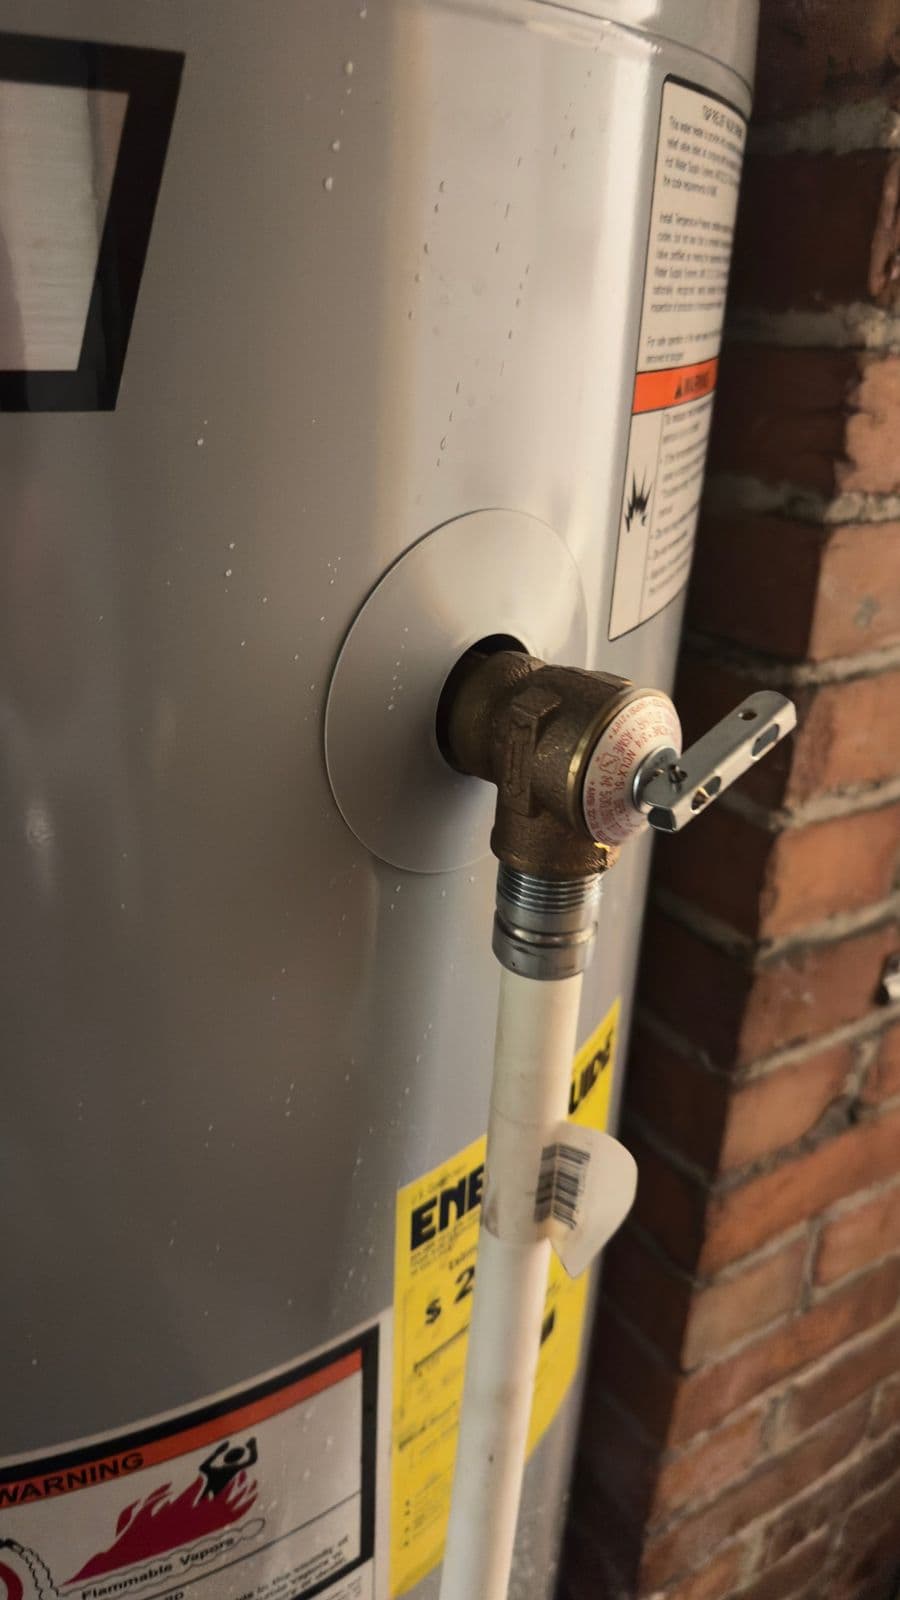
Water heater relief valve & discharge pipe
- 5.0 on Google (2 reviews)
- Fully insured
- Background-checked techs
- Flat rate quoted before we start
- Pittsburgh-based team
Rather have the shelves hung for you?
Handyman help in Pittsburgh from $49. Send us a photo of the wall and the shelf and we will tell you what the job involves.
Prefer to talk it through?
Flat-rate pricing · Fully insured & background-checked · Same-day slots
Learn more about General Handyman & Home Repairs in PittsburghMore Helpful Guides
How to Patch Drywall Holes and Touch Up Paint So the Repair Disappears
Patch drywall holes, feather the compound, prime and match the paint so the repair disappears.
Read the guideHow to Anchor a Dresser or Bookcase to a Wall (Anti-Tip Guide)
A step-by-step guide to anchoring a dresser, bookcase or tall cabinet to the wall: safety first, finding studs, choosing hardware, installing the anchor and testing it.
Read the guide